Turbines
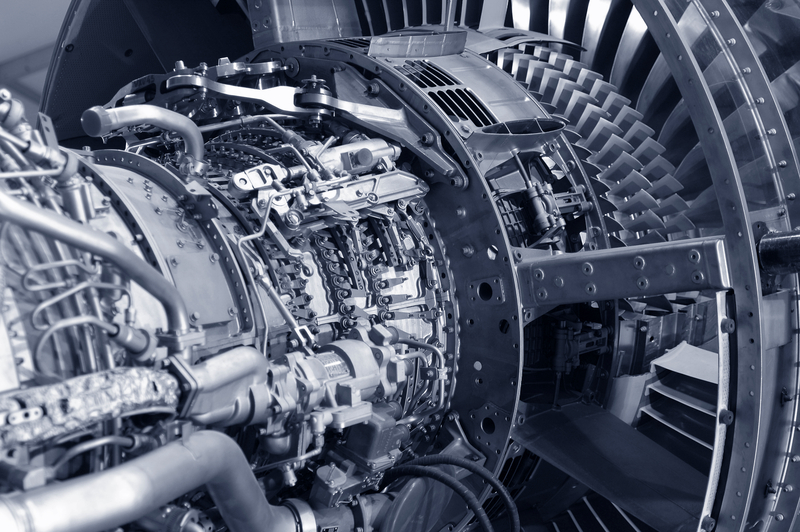
“Sometimes the old ways are the best,” a line from the James Bond movie Skyfall, may be true in some instances. However, it could not be more wrong when it comes to turbine engine measurement and inspection. The quality of turbine engine MRO (Maintenance, Repair, Overhaul) can literally become a matter of life and death once that plane is in the sky.

The traditional method of measuring turbine blades, vanes, and other engine parts to determine the level of repair required and to inspect subsequent repairs involves a series of manual measurements. This is a process prone to inaccuracies and infinitely less precise than what can be achieved with modern laser scanning technology. Using the traditional methods, “if eight different people measure a part they will get eight different answers,” says a Special Projects Coordinator for Delta Air Lines.
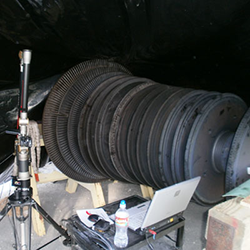
That’s where NVision’s engineering services come in. Our 3D non-contact optical scanning can help you achieve the highest possible accuracy in overhauling turbine blades, vanes, and other engine parts with complex geometries. Our team of experienced technicians will provide you with highly accurate inspection measurements of turbine components including airfoil contours, leading and trailing edges, and geometry. This information will enable your team to perform trends analysis, and better analyze deviations, shrinkage, airfoil twist and wear in molds.
Since our scanning provides a significantly higher volume of surface and cross-sectional data than can be achieved with manual measurements, your team will be able to use the CAD file(s) we provide to:
- Determine if the as-built turbine blades and other parts match the original design intent. Correcting deviances between physical blades and their original design can greatly improve turbine safety, fit and airflow.
- Reverse engineer old blades or other legacy parts (even those lacking CAD data) or redesign them with improvements.
- Measure critical dimensions such as the leading and trailing edges, to a high level of accuracy. You can then repair parts that you were unable to repair previously because of limitations or inaccuracies in measuring techniques.
- Know the exact shapes of in-service blades, vanes, or other parts, in order to restore them to spec and make sure that molds and related manufacturing tooling stays true.
- Accelerate product development time. OEMs can use our scanning information to improve product quality and products to market faster.
And much more. NVision’s engineering services will help you reduce inspection time and costs, and save time and money on all MRO-related tasks.
For over 30 years, the NVision name has been synonymous with quality work. Our experience in the turbine industry shows...in the results we deliver and the customers we keep. Our clients in the turbine industry include Rolls Royce, GE, Siemens, Boeing, and Delta Air Lines.
Please contact us by phone (817.416.8006) or email (sales@nvision3d.com) to discuss your 3D Scanning/Measurement needs.

